AWS CLI Prerequisites
Summary
This document walks through the prerequisites for installing Kubefirst using AWS with the Kubefirst CLI.
Install Assumptions
Before getting started make sure you are aware of the following:
- We assume that you already have an AWS account and credentials.
- We assume you have a Git organization (in either GitLab or GitHub) that is free to use for this installation.
- We are assuming you have never installed Kubefirst or Kubefirst Pro before.
- If you have previously installed Kubefirst or Kubefirst Pro you will need to remove the ~/.k1 folder, the ~/.kubefirst file, and anything related to k3d in Docker for the steps, as they’re outlined here, to be successful.
- We’re going to use your personal account for GitHub or GitLab as an admin and associate it with the bot that we use to build automation. This is faster but it also means that if you want to continue beyond just “testing it out” there are additional steps required to establish an independent bot account for the system to use. The bot is yours to run, configure, or remove and we do not store information on our servers.
General Prerequisites
Before getting started with this installation there are several things you will need to have set up to successfully complete the installation. Refer to each section below for details on each individual prerequisite.
Homebrew
The commands we provide here assume you are using Homebrew.
Terraform
Some commands we provide here assume you are using Terraform.. Run the following command to install with brew.
brew tap hashicorp/tap
brew install hashicorp/tap/terraform
Kubefirst CLI
macOS & Linux (Homebrew)
Run the following brew command to install the Kubefirst CLI.
brew install konstructio/taps/kubefirst
To update an existing Kubefirst CLI run
brew update
brew upgrade kubefirst
Note: Our Homebrew package automatically installs the AWS IAM Authenticator dependency. If you use another installation method additional configuration is required.
Linux (manual)
Download the latest build for your architecture from the releases page. Once done, extract it, and ensure it's executable. You may need to use sudo for the tar or `chmod`` command.
tar --overwrite -xvf kubefirst_<VERSION>_linux_<ARCH>.tar.gz -C /usr/local/bin/ kubefirst && \
chmod +x /usr/local/bin/kubefirst
Now you can run kubefirst.
kubefirst version
Windows
We do not directly support Windows, but you can use Kubefirst with WSL (tested with Ubuntu). To install the latest WSL version, follow the Microsoft documentation on installing Linux on Windows.
Kubectl
The instructions below also use kubectl. Run the following brew command to install.
brew install kubernetes-cli
Docker
A Docker Desktop installation with the following minimum requirements:
- CPU: 5 Cores
- Memory (RAM): 5 GB
- Swap: 1 GB
- Virtual Desk limit (for Docker images and containers): 10 GB
Some basic notes about running Docker:
- The more resources you allocate, the faster the cluster creation will go.
- If you pull multiple images from Docker Hub it may trigger the rate limit. To avoid this we suggest logging in to a Docker account. You can create one here for free, to double the rate limit.
- For Windows users Docker support must be enabled for WSL2 distributions.
Git Provider (GitHub or GitLab)
After provisioning your installer cluster you will need to have domain details for your preferred Git provider for your management cluster. We support GitHub and GitLab.
- Organization name/Group name
- Personal Access token
- Username
Check out our instructions for details (including scopes/permissions) on creating your git token.
DNS
Kubefirst assumes that you will use your cloud provider for DNS. We also support Cloudflare, refer to the details below.
Refer to the AWS documentation for configuring Route 53 for DNS for additional details.
Cloudflare (Optional for DNS)
If you prefer to use Cloudflare as your DNS provider:
- Create a dedicated Cloudflare user account
- Create a user token with read and write access to your registered zone. This token will be required during installation.
Refer to the Cloudflare documentation for user token creation for additional details.
mkcert Certificate Authority
This is not an optional step: the cluster creation will fail if you don't install the mkcert CA in your trusted store.
We use mkcert to generate local certificates and serve https with the Traefik Ingress Controller. During the installation, Kubefirst generates these certificates and pushes them to Kubernetes as secrets to attach to Ingress resources.
To allow the applications running in your Kubefirst platform, in addition to your browser, to trust the certificates generated by your Kubefirst install, you need to install the CA (Certificate Authority) of mkcert in your trusted store.
Run the following command to install mkcert.
brew install mkcert
mkcert -install
For Firefox, you will also need to install Network Security Services (NSS):
brew install nss
AWS Prerequisites
The following prerequisites are specific to AWS and must be completed in your target AWS account before installation.
AWS Account
An AWS account with billing enabled.
Admin Access
An AWS IAM user or role with adequate permissions to create and assume a KubernetesAdmin role which we will create in this guide.
AWS IAM Authenticator
Our Homebrew package automatically installs the AWS IAM Authenticator dependency. If you use another installation method, you will need to install this utility. See the AWS IAM Authenticator GitHub project for more information.
A Public hosted zone with DNS
If you're using Cloudflare for DNS, this step can be skipped
An AWS Public Hosted Zone in Route53 with DNS routing established with your domain registrar.
Refer to the AWS documentation here for details on public hosted zones.
AWS Role Configuration
To ensure that your Kubernetes cluster is not owned by a single human administrator, we ask you to create a role and then assume that role when you create the initial management cluster. This requirement ensures that personnel changes are never problematic for your infrastructure setup and configurations.
1. Define the KubernetesAdmin role
To define the KubernetesAdmin role,
create a new directory with a new file called role.tf. Paste this file content
into role.tf, adjusting the account ID as necessary and reading through the
comments. Save your new role.tf file.
2. Navigate to the directory
Open a terminal and cd to the directory you created. This command should display the role.tf you created.
cd /your/dir/
ls -al
3. Verify your AWS connection
Ensure that you are connected to your AWS account in your terminal with the administrative user provided by your company. Run the following command
aws sts get-caller-identity
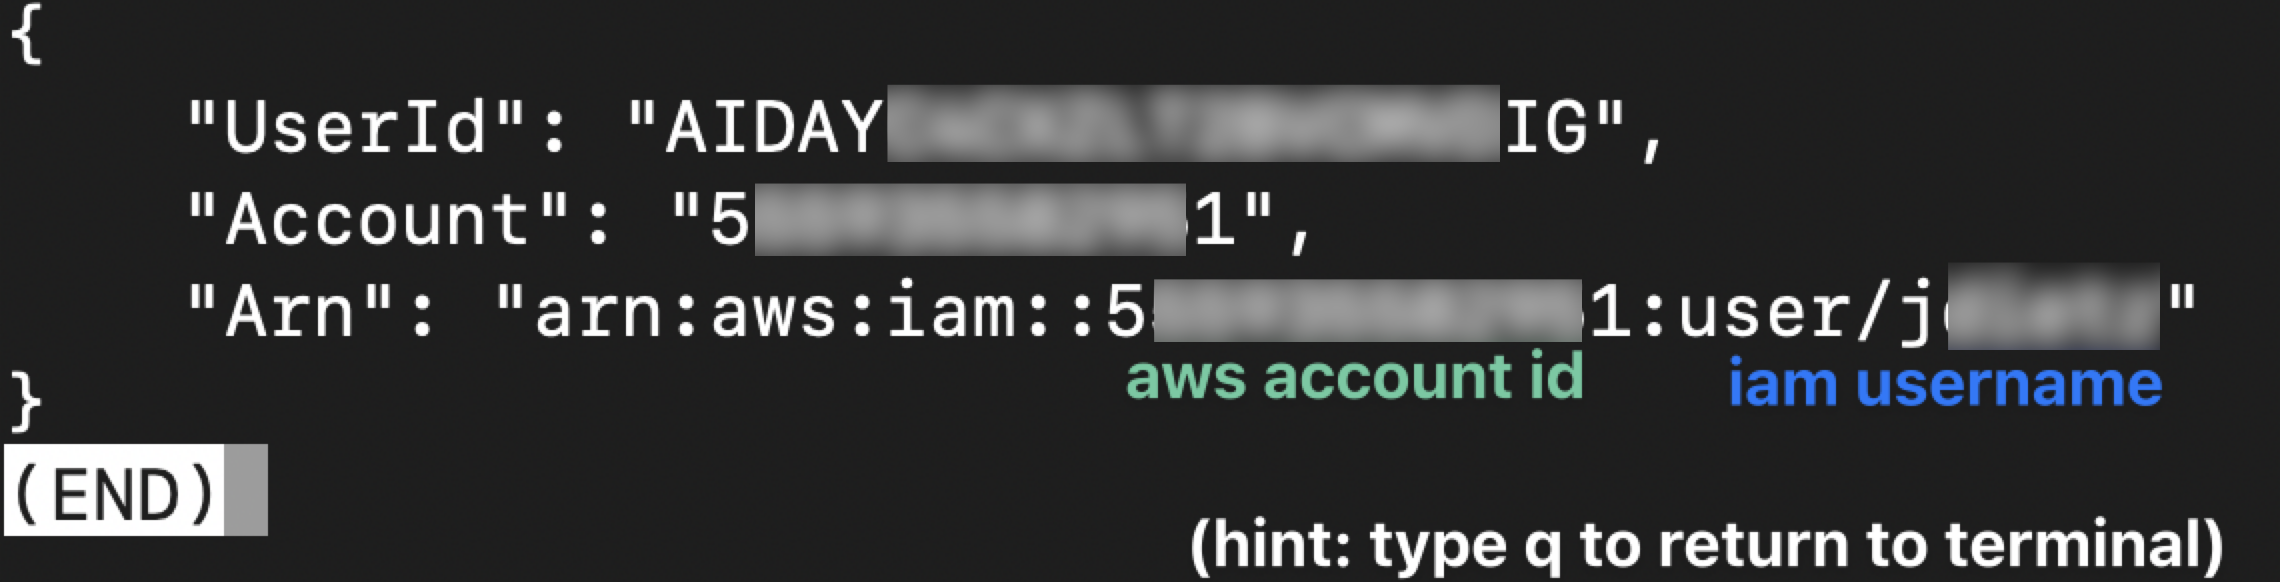
4. Check the AWS Identity
This should return something like the image below.
5. Initialize Terraform
In the same terminal run the following command
terraform init
terraform apply
6. Review and approve the Terraform plan
The above command shows you the role that it plans to produce in your AWS account.
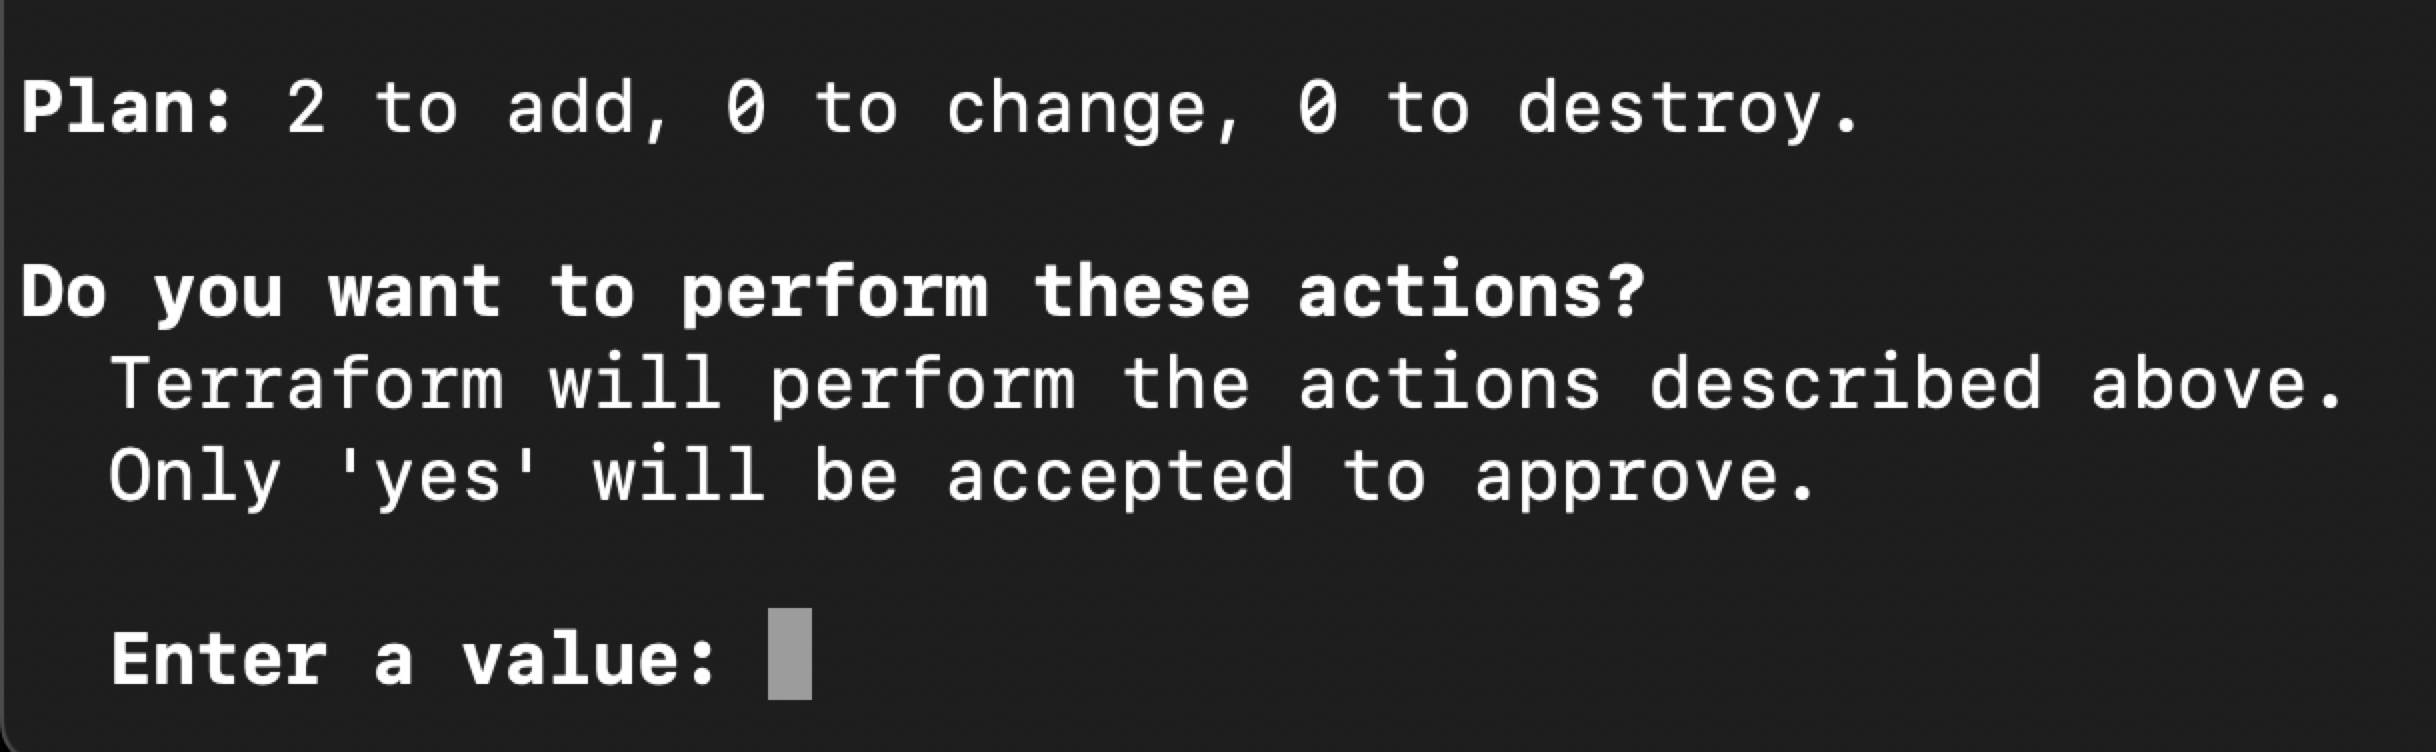
Once you have reviewed the plan, enter the value yes and hit return.
7. Get your temporary AWS credentials
Now that you have created an assumable role in AWS, you can get temporary
credentials for this role using the following command, but replacing
111111111111 with your AWS account ID.
aws sts assume-role --role-arn "arn:aws:iam::111111111111:role/KubernetesAdmin" --role-session-name "kubefirst-platform-creation" --duration-seconds 43200
The Kubefirst installer will require these first 3 values, including the large session token value.
In this example you can see that the value sometimes ends with =. When copying, be sure to include those, but do not include the “ as part of the value.

Known Limitations
The installation of Kubefirst Pro using AWS and the CLI has the following known limitations.
Let's Encrypt Certificate Rate Limit
Kubefirst uses Let's encrypt to automatically create certificates for your domains. Let's encrypt limits creation to 50 weekly certificates with an additional limitation of 5 per subdomain. In some scenarios you may reach that limit if you often create and destroy Kubefirst clusters using the same domain during a short period. You can use the Let's Debug Toolkit to check those.
Cloudflare DNS with origin certificates is an alternative method that allows unlimited certificate creation if this limit impacts you.
Getting Support
If you’re not sure this is the best method of installation for you, or you started the install and ran into issues, or if you have a question about the process and don’t see it mentioned here, we've got you covered. Join our Slack Community for support and get the answers you need!